In our previous React tutorial, we have explained how to implement Autocomplete Search in React. In this tutorial, we will explain how to setup TinyMCE Editor in React .
We often need to use WYSIWYG html editor into our React project. The WYSIWYG HTML editors are used in web application that allows to preview the end results and source of content before saving or printing final content.
TinyMCE is an open-source WYSIWYG html editor to use in web applications. In this tutorial, we will explain how to integrate TinyMCE editor in React application.
We will use react tinymce-react package to use TinyMCE in React application.

So let’s start integrating TinyMCE editor in React application.
Prerequisites
React Application Setup
First we will create a react application react-tinymce-editor using below command.
npx create-react-app react-tinymce-editor
we will move into our newly created application.
$ cd react-tinymce-editor
Now we will run our react application using below command.
$ npm start
Install React TinyMCE Package
As we are going to integrate TinyMCE editor, so we need to install tinymce-react package using below command.
$ npm install --save @tinymce/tinymce-react
Install Bootstrap Package
We will also install Bootstrap package using below command for styling HTML.
npm install bootstrap --save
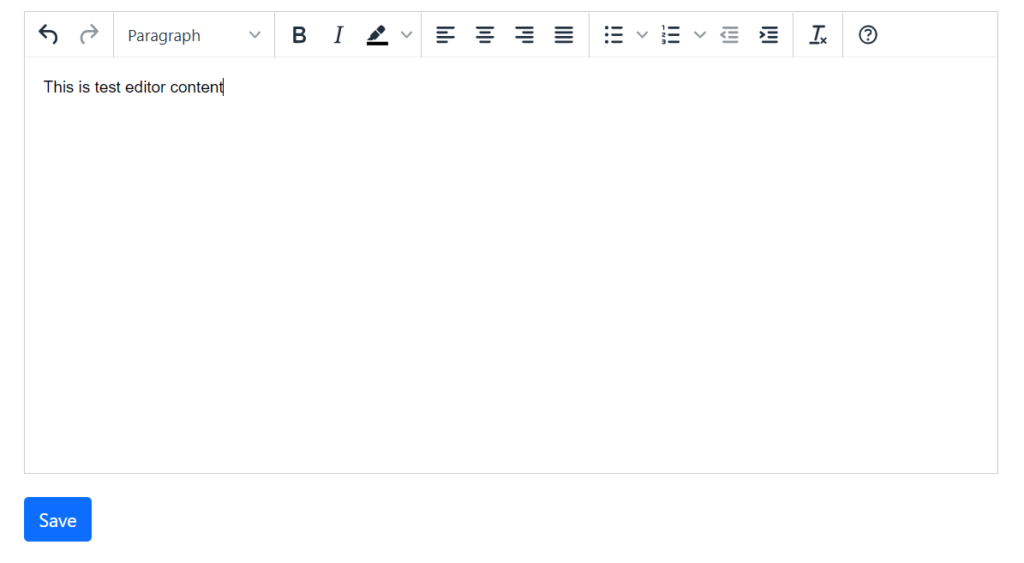
Setup TinyMCE Editor
Now we will integrate TinyMCE editor in our application. We will import tinymce-react package and setup editor. Simply open the src/App.js and replace the contents with following:
 import React, { useRef } from 'react';
 import { Editor } from '@tinymce/tinymce-react';
 import 'bootstrap/dist/css/bootstrap.min.css';

 export default function App() {
   const editorRef = useRef(null);
   const editorValue = () => {
     if (editorRef.current) {
       console.log(editorRef.current.getContent());
     }
   };
   return (

     <>
	 <div className="container">
	 <div className="row" style={{padding:'10px'}}>
	 <div className="col-md-8">
       <Editor
         onInit={(evt, editor) => editorRef.current = editor}
         initialValue=""
         init={{
           height: 400,
           menubar: false,
		   branding: false,
		   statusbar: false,
           plugins: [
             'advlist autolink lists link image charmap print preview anchor',
             'searchreplace visualblocks code fullscreen',
             'insertdatetime media table paste code help wordcount'
           ],
           toolbar: 'undo redo | formatselect | ' +
           'bold italic backcolor | alignleft aligncenter ' +
           'alignright alignjustify | bullist numlist outdent indent | ' +
           'removeformat | help',
           content_style: 'body { font-family:Helvetica,Arial,sans-serif; font-size:14px }'
         }}
       />
	    </div>
	   </div>
	   <div className="row">
	   <div className="col-md-3">
	   </div>
	   </div>
	  <div className="row" style={{padding:'10px'}}>
	   <div className="col-md-3">
       <button type="button" className="btn btn-primary" onClick={editorValue}>Save</button>
	   </div>
	   </div>
	    </div>
     </>
   );
 }
In above example code, we have imported tinymce-react and Bootstrap packages. We are using editor refrence to get the editor current value.
You can also customize the editor on init by using the editor options like height, menubar, plugins, toolbar etc.
Here in this tutorial, we have explained to use TinyMCE editor in your React application. You can checkout the TinyMCE documentation to customize the editor as per your requirement.