In our previous tutorial, we have explained about Mapping Components in React. In this tutorial, we will explain how to make API call in React.
React is the most popular front-end framework used to make web applications. The API calls are made to get data and render into application. So making call to api is an important part of a React app.
So here in this tutorial, we will explain how to integrate APIs in your React application. We will build an app to make API request and get json data. Then we will list employee data from response json data.

Also, read:
- Simple React File Upload with Node.js
- Create Simple Form with Validation in React
- Best PDF Viewer Component for React
- How to Map Components in React
So let’s proceed with implementation.
Create React Application
First we will create a new React applcation using create-react-app command.
npx create-react-app api-call-react
The above will create a new project api-call-react. We will move to the project
cd api-call-react
Setup Application
We will make changes into project files make API call and render data. So we will do changes in app.js file in src directory to setup project.
import React, {Component} from 'react';

class App extends Component {
  render () {
	return (
	  // Data render goes here...
	);
  }
}
We will create the state object employee to hold data from API call to be rendered.
import React, { Component } from 'react'

class App extends Component {
  ...
  state = {
	employee: []
  }
  ...
}
We will also include bootstrap css file to display employee data in Bootstrap cards. We will include this in index.html file located in the public folder.
...
<head>
  ...
  <link rel="stylesheet" href="https://stackpath.bootstrapcdn.com/bootstrap/4.1.3/css/bootstrap.min.css" crossorigin="anonymous">
  ...
</head>
...
Make API Call with React
We will use componentDidMount() method in app.js file. The method is called immediately when component mounted and the API call made in this method using fetch method.
import React, { Component } from 'react'

class App extends Component {

	...

    componentDidMount() {
        fetch('http://jsonplaceholder.typicode.com/users')
            .then(res => res.json())
            .then((data) => {
                this.setState({ employee: data })
            })
            .catch(console.log)
    }

	...

}
The fetch method make GET request to API http://jsonplaceholder.typicode.com/users and parse the response into json using res.json(). Then we will set the value of our state using this.setState({ employee: data }).
Create Employee Component
For rendering employee data, we will create a component employee by creating employee.js file in newly created directory components. The employee.js file will have following code to display employee list.
import React from 'react'

const Employee = ({employee}) => {
    return (
        <div>
            <center><h1>API Call in React - Employee List</h1></center>
            {employee.map((emp) => (
                <div class="card">
                    <div class="card-body">
                        <h5 class="card-title">{emp.name}</h5>
                        <h6 class="card-subtitle mb-2 text-muted">{emp.email}</h6>
                        <p class="card-text">{emp.company.catchPhrase}</p>
                    </div>
                </div>
            ))}
        </div>
    )
};

export default Employee
Render Employee Component
First we need to import the component into app.js to render our component.
import React, {Component} from 'react';
import Employee from './components/employee';
We will pass our component along with the employee state to be rendered.
render() {
	return (
		<Employee employee={this.state.employee} />
	)
}
Complete Code
Here is the complete for file app.js to make API call and render data using employee component.
import React, {Component} from 'react';
import Employee from './components/employee';

class App extends Component {
    render() {
        return (
            <Employee employee={this.state.employee} />
        )
    }

    state = {
        employee: []
    };

    componentDidMount() {
        fetch('http://jsonplaceholder.typicode.com/users')
            .then(res => res.json())
            .then((data) => {
                this.setState({ employee: data })
            })
            .catch(console.log)
    }
}

export default App;
Running application
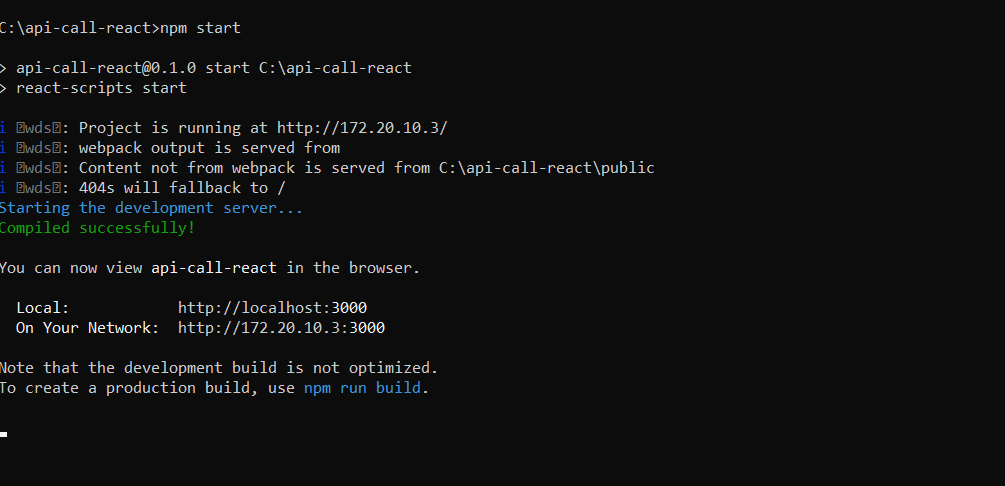
Now we will run our application with npm start command.

It will automatically open browser and load http://localhost:3000 and displayed employee listing.

You may also like:
- Follow and Unfollow System with PHP & MySQL
- GST Billing System with PHP & MySQL
- Restaurant Management System with PHP & MySQL
- Visitor Management System with PHP & MySQL
- Student Attendance System with PHP & MySQL
- Like and Dislike System with Ajax, PHP & MySQL
- Build Star Rating System with jQuery, PHP & MySQL
- User Registration and Login System with PHP & MySQL
- Build Contact Form with PHP and Ajax
- To-do List Application with Ajax, PHP & MySQL
- Build Event Calendar with jQuery , PHP & MySQL
You can download the complete source from the Download link below.
Download